Garage Door Stops or Reverses? How to Tell if It’s the Opener, Springs, or Sensors
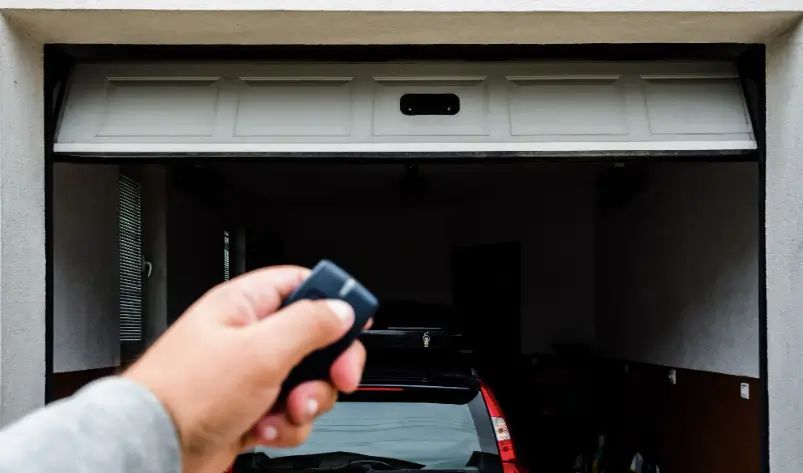
A garage door that won’t close or keeps reversing can look like an opener failure, but the motor often responds to another problem. Because modern openers monitor resistance and safety signals, issues with photo-eye sensors, door balance, rollers, tracks, or travel limits can trigger a stop-and-reverse the moment something feels unsafe. Before you assume you need a new opener, a few targeted observations can point you toward the true cause. This diagnostic guide explains what specific symptoms mean, which checks are safe for homeowners, and when to leave the tools alone. You will see how torsion springs, cables, tracks, and sensors interact, and why adjusting force or travel settings too soon can hide a hazard instead of solving it.
What a Mid-cycle Reversal Is Telling You
If your door starts down, hesitates, and returns to open, the opener may be reacting to a safety interruption. Late-afternoon glare or dust on a photo-eye lens can break the invisible beam even though no one is in the doorway. In Fort Worth, TX, low-angle sun can strike sensors directly, and wind-driven debris can coat the lenses. Check the sensor lights by the bottom of each track: most systems show steady lights when aligned and clean, and blinking or off when misaligned or obstructed. Light flicker can also come from a loose sensor bracket or a wire nicked where it staples to the wall.
Another common cause is mechanical binding. If a roller is out of its track, a hinge is cracked, or a bumped car tire pinches the vertical track, the door experiences a spike in resistance. The opener’s force monitoring sees that spike and commands a reverse. Travel limits set too far can also make the door press into the floor, hit its own weatherstrip, and bounce back. Turning up force or blindly running the limit screws might move the door today but leaves the underlying bind, misaligned track, or damaged hardware in place.
Quick, Safe Checks Before You Touch Any Adjustment
Start with the photo-eyes. Wipe each lens with a soft cloth, remove cobwebs from the brackets, and ensure both indicator lights are solid. Sight along the beam path to confirm the sensors face each other. If they use wing nuts, a gentle quarter-turn is often enough to level them. Verify that nothing stored near the opening, like a shovel or recycling bin, can swing into the beam. Try the wall button and a remote; if one works and the other does not, you are likely dealing with a sensor or control issue rather than a heavy door.
Next, assess balance without lifting a dead weight. Pull the red emergency release only when the door is fully down and resting on the floor. Then lift the door by hand to about waist height. A well-balanced door should hover or feel light. If it slams down, the torsion or extension springs may be fatigued or broken, increasing load on the opener and prompting reversals. Look for a visible gap in a torsion spring, frayed lift cables near the bottom brackets, or a crooked drum. Do not loosen set screws, touch winding cones, or remove cable tension; spring and cable work is specialized and hazardous.
When It Looks Like the Opener, But Isn’t
Openers often get blamed for symptoms they only detect. Worn or square-edged rollers drag in the tracks; dry hinges squeak and resist; a bent flag bracket at the top of the vertical track pulls the track out of plumb. Any of these can make even a new belt-drive opener strain and then reverse. The motor is doing its job by refusing to force the door past abnormal resistance. Lightly lubricating hinges and roller stems with a garage-door-rated spray, along with tightening loose track bolts into solid framing, often restores smooth travel without touching the opener.
Consider two realistic examples. Example one: a steel carriage-house door closes fine in spring but reverses in August. Heat softens the bottom seal, the floor heaves slightly, and a slight inward track tilt increases friction on the lower rollers; the opener reads the extra force and backs up. Example two: a top section with a loose strut flexes as the opener pulls, causing the top bracket to angle and bind at the track radius. Again, the opener stops to prevent damage. In both cases, reinforcing hardware and realigning tracks address the cause; pushing up force settings only hides the warning.
See also: Business Acquisition Financing Canada: Funding a Successful Business Purchase
The Adjust-or-Replace Trade-off
Travel and force adjustments are finishing steps, not first aid. Use them only after the door moves freely by hand, the tracks are square, and the sensors are steady. Increasing down force to plow through friction creates a safety risk and shortens the opener’s life. If a torsion spring has a visible gap or an extension spring hangs slack, the correct repair is to replace the spring, usually in matched pairs so lift remains balanced. Upgrading to high-cycle torsion springs trades higher upfront cost for longer service life, especially on frequently used double-wide doors.
Hardware choices also carry trade-offs. Nylon rollers with sealed bearings are quieter and reduce track wear compared with basic steel rollers, which can be noisy and rust-prone in humid garages. If a section panel is cracked around a hinge or the top bracket has torn out, a section replacement maintains door integrity better than a patch. And if your opener lacks functioning photo-eyes or has a stripped drive gear, replacement is the safer path. Adjustments cannot compensate for missing safety components or major internal wear.
Preventing the Next Nuisance Stop
A few habits keep forces low and sensors reliable. Lubricate metal hinges, torsion springs, and roller stems twice a year with a silicone or lithium spray made for garage doors. Don’t grease the tracks; instead, wipe them clean so rollers roll, not slide. Tighten lag screws holding the track brackets to framing, and check that horizontal tracks are level. Replace a brittle bottom seal to reduce drag and keep grit out of the tracks. Clean photo-eyes monthly, and test them by waving a piece of cardboard through the beam during a close command to confirm an immediate reversal.
When a door stops mid-cycle, it is reporting a condition, not being stubborn. Watching sensor lights, checking hand-balance with the door fully down, and inspecting rollers and tracks will quickly show whether you are dealing with a safety interruption, a friction issue, or spring fatigue. Avoid common mistakes like taping over photo-eyes, cranking up force settings, or yanking the emergency release when the door is up. If anything looks cracked, frayed, or out of square, leave spring and cable work to a trained technician. A smooth, balanced door protects the opener and helps every close cycle succeed.