Walk Your Yard After Dark Before You Buy a Single Outdoor Light
Try a small experiment tonight. Wait until the sun has properly disappeared, switch off the porch light, and walk from the driveway to the front door. Then take the route to the trash bins, the side gate, or the garden shed. You will probably notice hazards that are almost invisible during the day: a paving stone that sits slightly proud, a branch leaning into the walkway, or the awkward step where everyone slows down.
That ten-minute walk tells you more about outdoor lighting than an afternoon spent comparing fixtures. It reveals where light is genuinely needed and, just as importantly, where it is not. A comfortable nighttime yard should help people find their way without looking like a parking lot.
Start With the Places Where Feet Hesitate
Most homeowners begin by thinking about symmetry. They imagine identical fixtures placed at equal intervals along both sides of a path. The result may look orderly from an upstairs window, but at ground level it often creates the unmistakable “airport runway” effect. It can also produce far more light than the space needs.
A better plan begins with moments of uncertainty. Mark changes in elevation, tight corners, uneven surfaces, and places where the route splits. Pay attention to the transition from the driveway to the path and the last few feet before the door. Those are the points where visitors tend to pause, especially when they are carrying bags or arriving in unfamiliar surroundings.
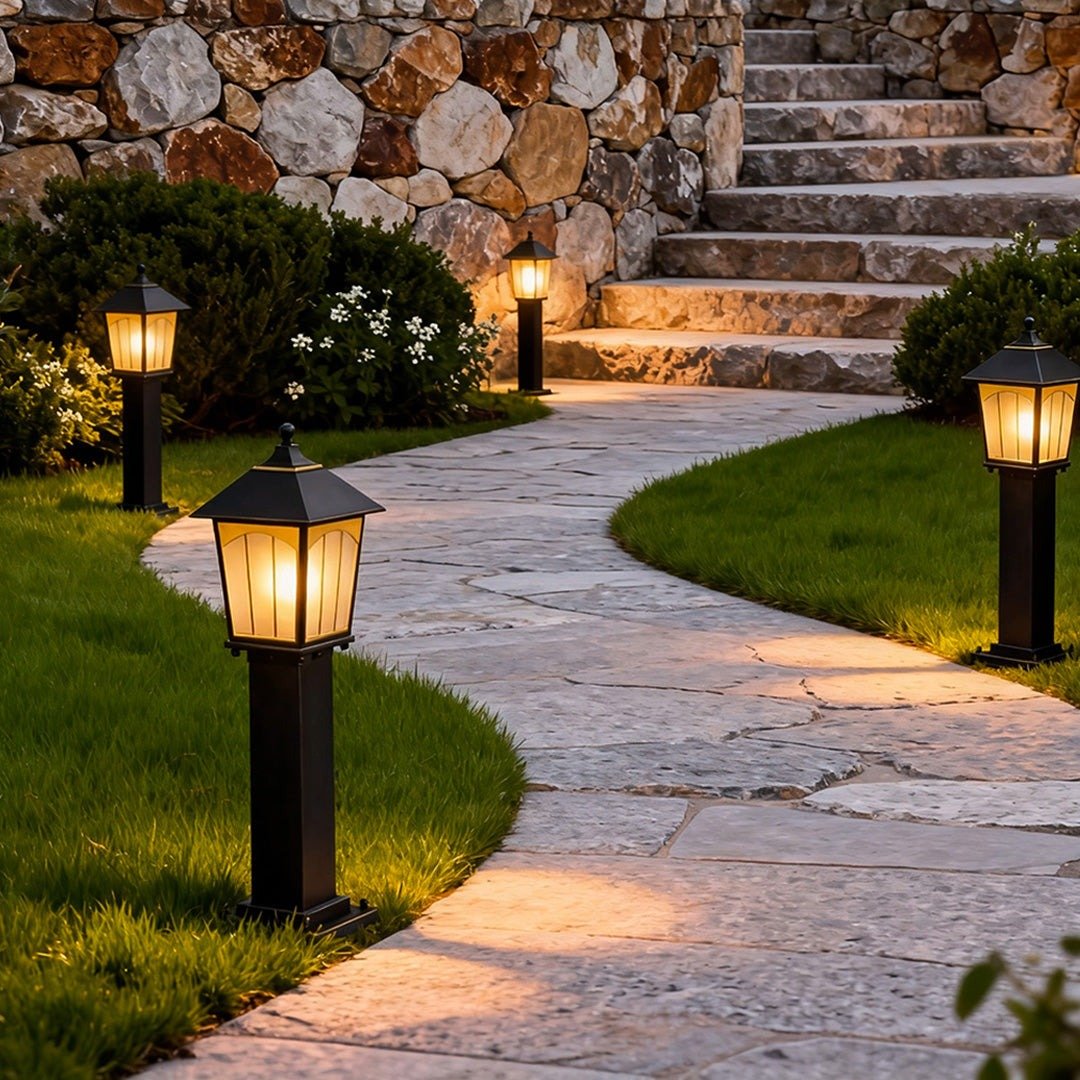
Alternating fixtures can guide people naturally without turning the walkway into a rigid line.
Small, downward-facing path lights work well at these decision points because they put illumination close to the walking surface. Instead of trying to light the whole garden, they create a sequence of visible landing spots. Your eyes connect those spots and understand the route between them.
Low Guidance and Taller Markers Do Different Jobs
Not every outdoor route needs the same type of fixture. A narrow garden path bordered by herbs or low flowers usually benefits from lighting that sits quietly among the planting. A broad drive, open lawn edge, or long approach often needs something with more height and presence.
This is where bollard lights become useful. Their taller form is easier to see from a distance, so they can define the edge of a driveway, mark the entrance to a side path, or give structure to an open section of landscaping. They should not be treated as oversized substitutes for every small garden fixture, though. Put too many in a compact yard and the posts begin to dominate the view during daylight.
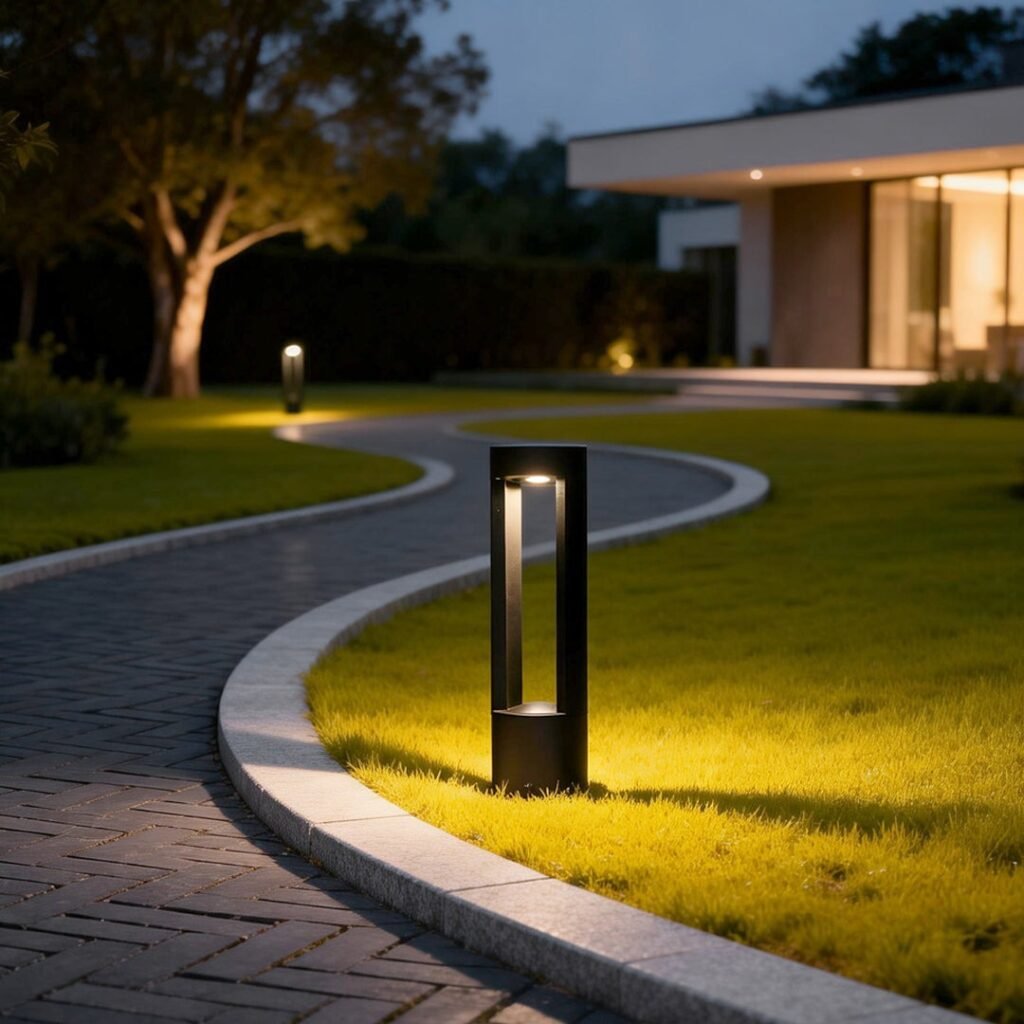
A shielded bollard keeps the useful light near the ground and out of a visitor’s eyes.
A sensible combination might use shorter fixtures along a winding path and one taller marker where that path meets the driveway. The difference in height quietly signals that the route is changing. It feels intuitive, even when a guest cannot explain why.
Make a Lighting Map, but Do It at Night
Sketching the yard during the day is helpful, but the final decisions should happen after dark. Take a flashlight outside and hold it at roughly the height of the fixture you are considering. Aim the beam toward the ground, then move it several feet forward. This simple test shows whether nearby leaves will block the light and whether a fixture will shine into a bedroom window.
Use temporary markers before any digging begins. Garden stakes, cardboard tubes, or even upside-down plant pots can stand in for fixtures. Place them on alternating sides of the walkway rather than matching them directly across from one another. Walk the route from both directions. A light that seems perfectly positioned when leaving the house may cause glare when you are coming home.
Spacing should follow the beam rather than a fixed measurement copied from a diagram. Wider, downward shades can cover more ground, while narrow beams may need to sit closer together. The goal is not to make every inch equally bright. Slightly darker gaps create depth and allow the illuminated sections to do their job.
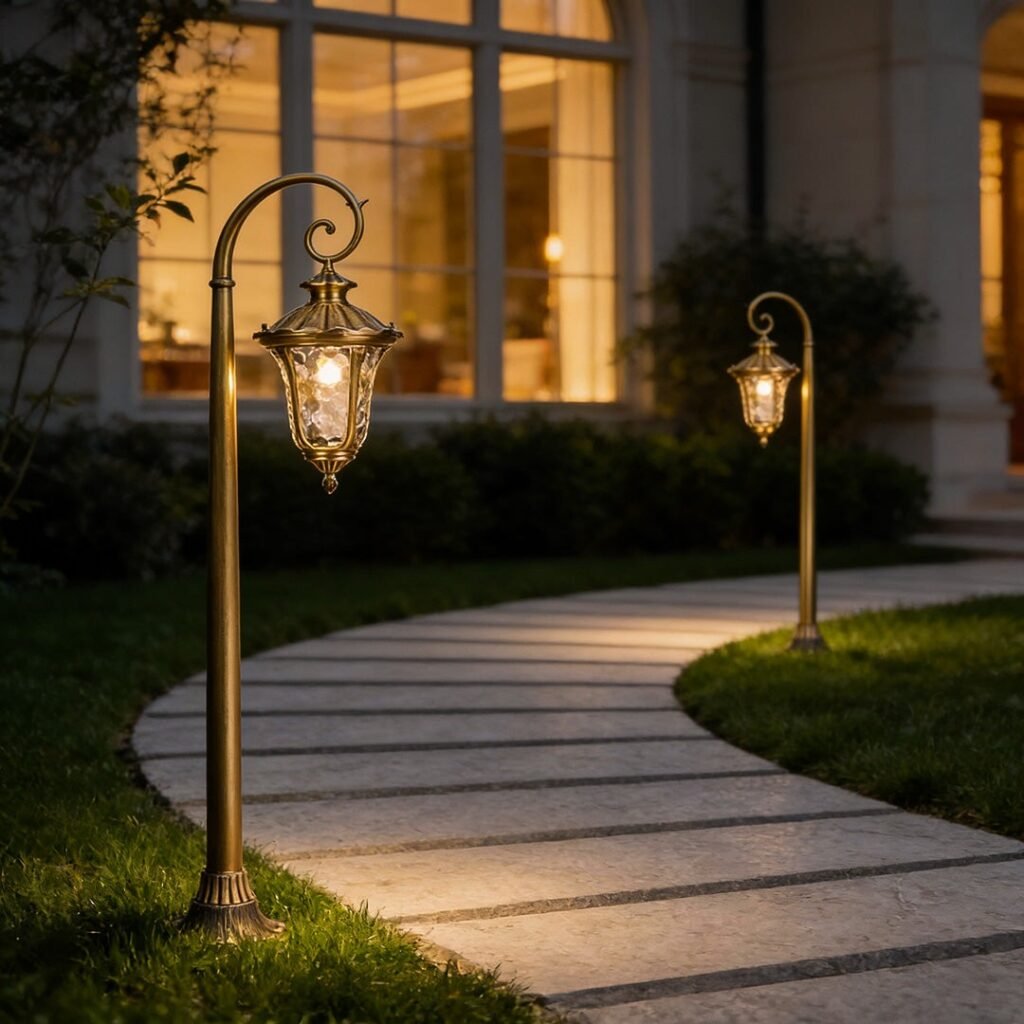
The front door remains the visual destination while lower lights make the approach easier to follow.
Warm Light Is Usually Easier to Live With
Brightness numbers can be misleading outdoors. A lamp that looks modest on a product page may feel surprisingly harsh in a dark garden. Warm-toned light is generally more forgiving around brick, timber, stone, and plants. It also creates a gentler transition from the garden to the warmer light commonly used inside a home.
Before committing to multiple fixtures, test one after sunset. Look at it from the sidewalk, from inside the living room, and from the nearest bedroom. If you can see the bare light source from those positions, reconsider the angle or choose a more deeply shielded design. Good landscape lighting lets you notice the path and planting; it does not continually remind you to look at the bulb.
Remember the Gardener, the Hose, and the Lawn Mower
Outdoor lights have to survive more than rain. They meet sprinklers, wet leaves, shifting soil, curious pets, wheelbarrows, and the occasional badly aimed lawn mower. Leave enough clearance around each fixture for trimming and cleaning. If a plant is expected to double in size within two seasons, position the light for the mature plant rather than the small one you see today.
It is worth checking the layout again a few weeks after installation. Plants grow, habits change, and a path used daily may turn out to need one more pool of light near the gate. Another fixture may prove unnecessary once your eyes adjust. Outdoor lighting is easiest to get right when it is treated as a living part of the garden, not a pattern that must remain untouched forever.
The best result is pleasantly uneventful. Guests reach the door without watching every step, nobody is dazzled by glare, and the yard still feels like night. If the route makes sense without demanding attention, the lighting is doing exactly what it should.