Travel Poster Printing: Turn Trip Photos Into Wall Art
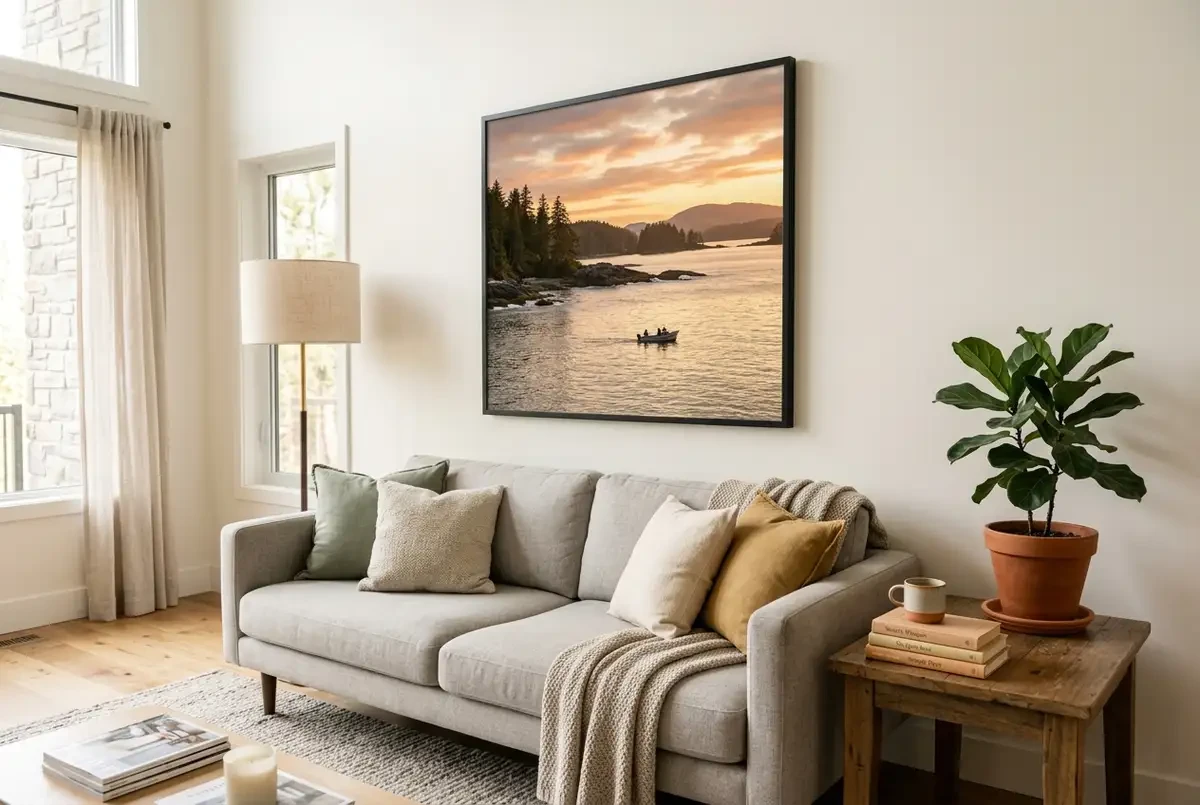
Travel poster printing is the simplest way to get a trip off your phone and into your home. Most people come back with hundreds of photos and look at almost none of them again. One strong image, printed large and hung where you see it every day, does more to keep a trip alive than a full camera roll. This guide follows the process in order: choosing the photo, checking the resolution, picking a size and finish, preparing the file and framing the result.
Why Your Best Trip Photos Belong on a Wall
A photo on a screen competes with everything else on that screen. A printed poster has a wall to itself. It also changes how you remember the trip. You stop scrolling past the image and start noticing the details, such as the light on the water or the colours of a market stall.
Travel wall art is personal in a way shop-bought prints are not, because nobody else has your picture. And unlike most souvenirs, it adds nothing to your luggage: the file travels home on your phone, and the printing happens once you are back.
Choosing a Travel Photo That Works at Poster Size
Not every good photo makes a good poster. An image that looks fine on a small screen can fall apart when it is two feet wide, so judge your shortlist against a few practical points.
Start with sharpness. Open the photo on a computer, zoom to 100 percent and check the main subject. Slight blur that is invisible on a phone becomes obvious in print. Next, look at the composition. Posters work best with one clear subject and some breathing room around it: a single boat on a bay, a mountain ridge at dawn, a narrow street with one figure walking away. Busy scenes with many small details tend to read as clutter from across a room.
Light matters as much as subject. Photos taken early or late in the day usually print with richer colour than shots taken under flat midday sun. Finally, always work from the original file. Images saved from social media or sent through a messaging app are compressed and will not enlarge well.
Think about where the poster will hang before you choose. A tall, narrow wall between two doors needs a vertical image, while the space above a sofa or bed calls for a horizontal one. Shortlist three to five candidates, view each at full screen and come back to them a day later. The one you still stop on is the one to print.
Photo Resolution for Large-Format Poster Printing
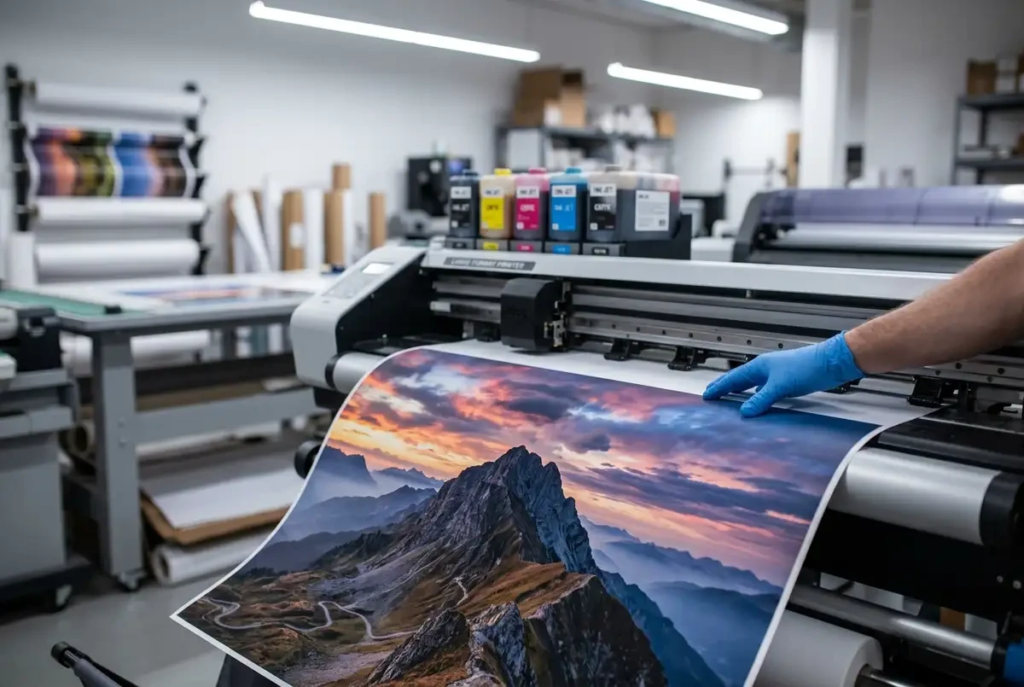
Resolution decides how large a photo can go. A home printer usually stops at letter size. Large-format poster printing from a print shop such as https://fivedprint.com/ keeps colour vivid and detail crisp at sizes a home printer cannot reach, provided the file has enough pixels to begin with.
The usual target is 300 pixels per inch for prints viewed up close. Large posters are viewed from farther away, so around 150 pixels per inch still looks sharp on a wall. Here is what that means for common sizes, with the minimum for a sharp wall print and the ideal for close viewing:
- 8.5″ x 11″: at least 1275 x 1650 pixels (about 2 megapixels), ideally 2550 x 3300.
- 11″ x 17″: at least 1650 x 2550 pixels (about 4 megapixels), ideally 3300 x 5100.
- 18″ x 24″: at least 2700 x 3600 pixels (about 10 megapixels), ideally 5400 x 7200.
- 24″ x 36″: at least 3600 x 5400 pixels (about 19 megapixels), ideally 7200 x 10800.
In practice, a 12-megapixel phone photo (about 4000 x 3000 pixels) prints well up to 18″ x 24″. At 24″ x 36″ the same file will look slightly soft up close but fine from a few steps back. To find your photo’s pixel dimensions, open the file details on your phone or computer. If the numbers fall short, choose a smaller size instead of stretching the image. Editing apps can enlarge a photo by adding pixels, and a modest increase can help, but it cannot recover detail that was never captured.
Poster Sizes, Paper and Finish: What to Order
Once the file passes the resolution check, three choices remain: the size, the paper finish and the quantity. A single copy is a normal order for a photo poster.
Standard Poster Sizes From 11×17 to 24×36
Standard poster sizes are worth sticking to because ready-made frames exist for all of them. An 11″ x 17″ print suits a hallway, a desk wall or a gallery arrangement. An 18″ x 24″ poster is a good main piece above a sofa or bed, and it matches the 3:4 shape of most phone photos, so little is cropped. A 24″ x 36″ poster makes a statement on a large wall and matches the 2:3 shape of most dedicated cameras. Custom poster sizes are possible for panoramas, but plan the framing first, since custom frames cost more.
Matte vs Gloss Poster Printing for Photos
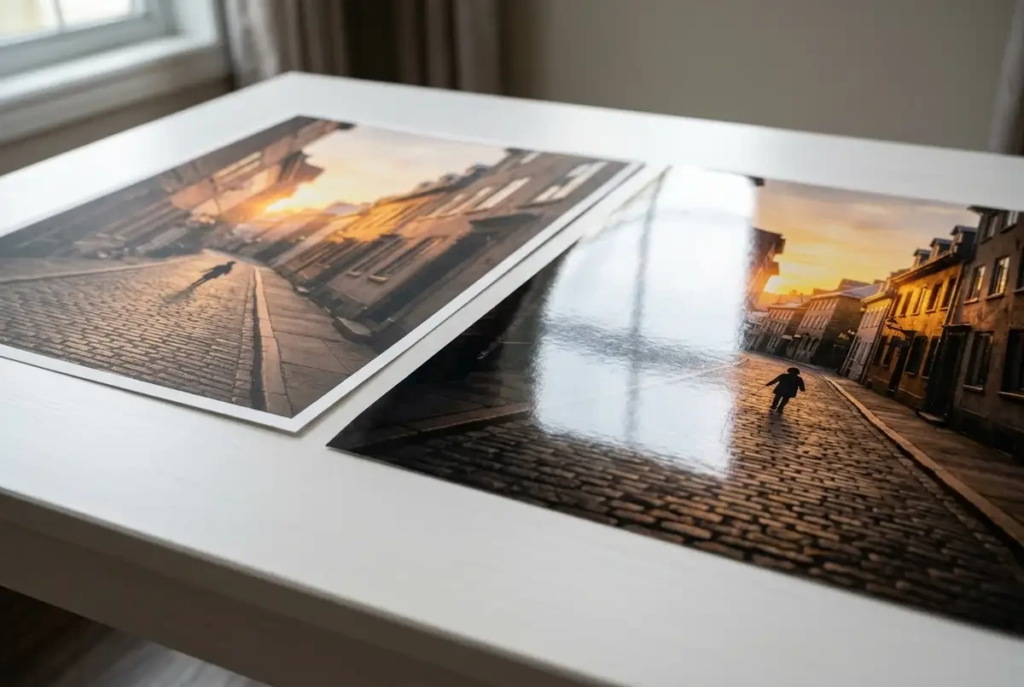
Finish changes the mood of a photo. Gloss gives a more vibrant look, with deeper blacks and stronger colour, which flatters sunsets, tropical water and city lights. Matte has a cleaner, softer appearance and reduces glare, so it suits bright rooms and walls opposite a window. If the poster will sit behind glass, matte is usually the safer choice, because glass over gloss doubles the reflections. Black and white travel photos tend to look best on matte. Ask about paper weight as well. A heavier stock resists curling and creasing, which matters if the poster will be handled before it is framed.
Preparing a Print-Ready File From Your Phone or Camera
A few minutes of preparation prevents most disappointing prints.
- Crop to the poster’s shape. Set the crop tool to the ratio of the size you are ordering, so you decide what is cut instead of leaving it to chance.
- Brighten slightly. Paper does not glow like a backlit screen, and prints often look darker than expected. A small lift in brightness and shadows helps.
- Go easy on filters. Heavy saturation and sharpening look harsh when enlarged.
- Keep key details away from the edges. A frame covers a narrow strip on every side.
- Export at full size. Save as a maximum-quality JPEG, a TIFF or a PDF, and do not let an app resize it for sharing.
- Send the file directly. Upload or email the original to the print shop, and ask whether they need extra image area for trimming.
If the poster is a gift with a fixed date, ask about rush printing when you request the quote.
See also: Why Resin Lighting Works for Modern Homes
Framing and Hanging Custom Travel Posters
Carry the print home flat or loosely rolled, and let it rest flat for a day before framing. A frame protects the print and finishes the look. Simple black, white or natural wood frames keep attention on the photo, and a mat border makes a mid-size print feel more formal. Hang the poster so its centre sits at roughly eye level, about 57 inches (145 cm) from the floor, and keep it out of direct sunlight to slow fading.
One poster is a good start, and several custom travel posters can grow into a gallery wall over time. Use the same frame colour throughout, mix one large print with a few smaller ones and leave two to three inches between frames. Add a new piece after each trip, and the wall becomes a record of where you have been, built from your own photos.