Hospitality Furniture: A Step-by-Step Approach to Measuring Clearance and Seating Density in Small Dining Rooms
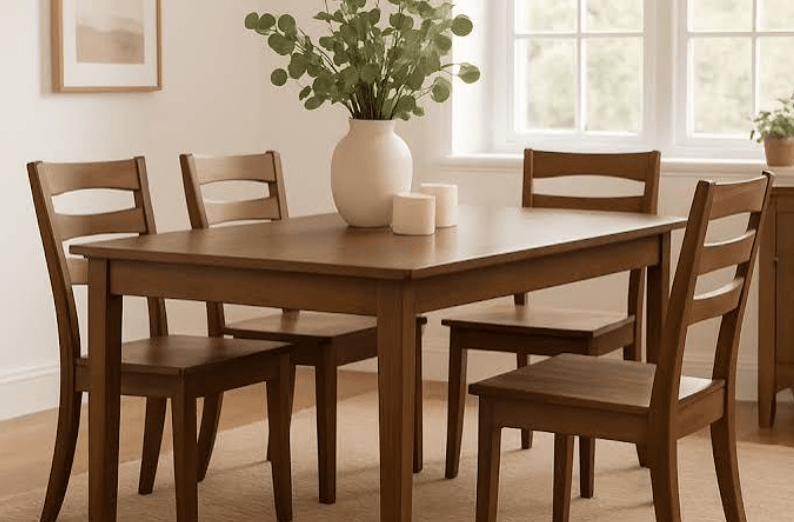
Small dining rooms present furniture placement challenges that large hospitality spaces do not. In a ballroom or function centre, the consequences of a suboptimal table layout are usually manageable. In a small restaurant where every square metre either contributes revenue or it does not, the difference between a layout that achieves fourteen covers and one that achieves sixteen can be meaningful at the end of a trading year.
Getting the clearance calculations right in a small dining room requires a methodical approach that accounts for the regulatory minimums, the operational realities of the service style, and the guest experience expectations of the specific venue. None of these can be traded against the others entirely, but each can be optimised within the constraints the others impose.
Step One: Establish the Usable Floor Area
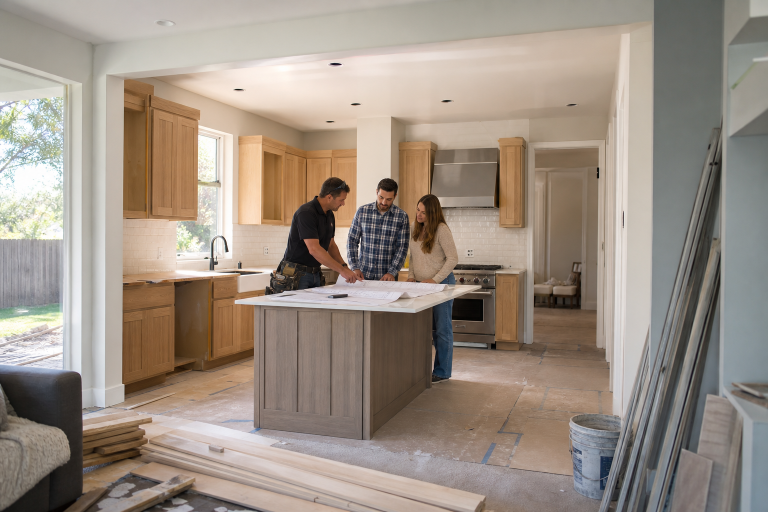
The starting point is not the total floor area of the dining room but the usable seating area after subtracting the fixed elements that cannot accommodate tables. These include the perimeter clearance required around structural columns, the kitchen service exit path and its minimum clear width, the entry pathway from the front door to the host station, the bar counter footprint and its required service clearance, any fixed architectural features such as window seats or built-in joinery, and the required fire exit pathway width.
Measure each of these fixed elements precisely and mark them on a scaled floor plan before any furniture placement begins. The floor area remaining after these deductions is the actual usable seating area, and it is always smaller than the total room area by a meaningful margin in small dining rooms.
Step Two: Establish Service Aisle Widths
Before placing a single table, mark the minimum service aisle widths on the floor plan. A primary service aisle running from the kitchen service exit through the dining room requires a minimum clear width of ninety centimetres for standard tray service. In a very small room with simple plate service and a single server, eighty centimetres can be workable, but the preference for ninety centimetres is based on the practical reality of service without constant contact with seated guests.
Secondary aisles between table groupings need a minimum of sixty centimetres for guests to move to and from their seats without disturbing adjacent tables. For hospitality furniture configurations in very small rooms, this minimum can create a genuine constraint on the number of viable table positions.
Mark the primary and secondary aisle paths on the floor plan before placing any tables. These paths should be continuous from the kitchen service exit to every table position without requiring detours around furniture.
Step Three: Apply Individual Table Clearances
Each table requires a specific clearance zone that accounts for the depth of a seated guest and the space required to push back a chair and stand without contacting adjacent furniture or guests. The standard clearance from the back of a seated guest to the nearest obstacle is forty-five centimetres static and sixty centimetres dynamic (to allow for chair movement).
Apply this clearance to all sides of each table where a seat will be placed. The resulting footprint for each table setting is the table dimensions plus the seating clearances on occupied sides. In a small room, overlapping these clearance zones between adjacent tables to the minimum viable degree while maintaining the service aisle widths is the optimisation that produces the maximum cover count within the safety and comfort constraints.
See also: Selling Your Home in New Britain, CT: A Comprehensive Guide for Homeowners
Step Four: Test the Layout With Physical Markers
Before ordering or moving banquet table and chairs for sale to fill a new layout, test the proposed placement using physical markers, tape on the floor or substitute objects of the correct dimensions, and walk the service paths and seating positions with two or three people. What reads as adequate on a floor plan often feels different at human scale, and a layout that looks workable in two dimensions can reveal practical problems when physically simulated.
The walk-through test should include a service simulation with a tray or plates, a guest seating simulation with chairs being pulled out and pushed in at every position, and a test of the emergency egress pathway to confirm the required width is maintained throughout the service configuration.